Cloning the Virtual Machine to Create More Nodes
Here we are, at the last stage of the tutorial, with a Linux VM setup on VirtualBox and ElasticSearch installed and configured. We told ElasticSearch to expect three nodes in the cluster, and asked it to not start if we didn’t have at least two, to preserve data integrity and fault tolerance.
VirtualBox supports a feature called Linked Clones which basically takes a snapshot of your original VM and forks it, so that you can have one base disk with multiple difference disks. Each clone will run from the difference disk using the base disk as the master. This allows us to save a lot of space on the host, because we installed our OS, ElasticSearch, and did the configurations once.
Let’s power off our VM (as root – shutdown -h now) so that we can clone the VM.
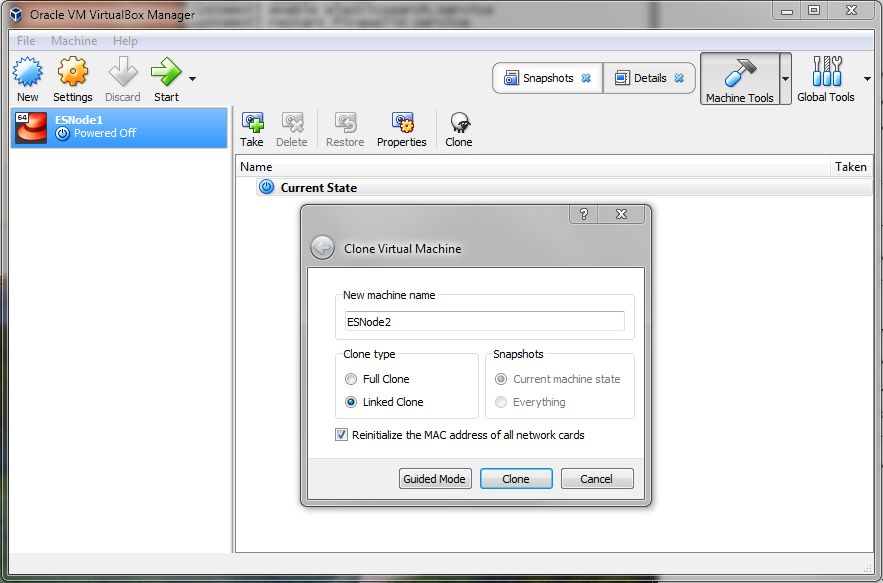
On the Clone Virtual Machine dialog, we see the option to create a Linked Clone. We also want to reinitialize MAC addresses, so that we don’t get routing conflicts when we start all the machines at once. Let’s name our new VM ESNode2 so that it’s consistent with the hostname convention that we’re using.
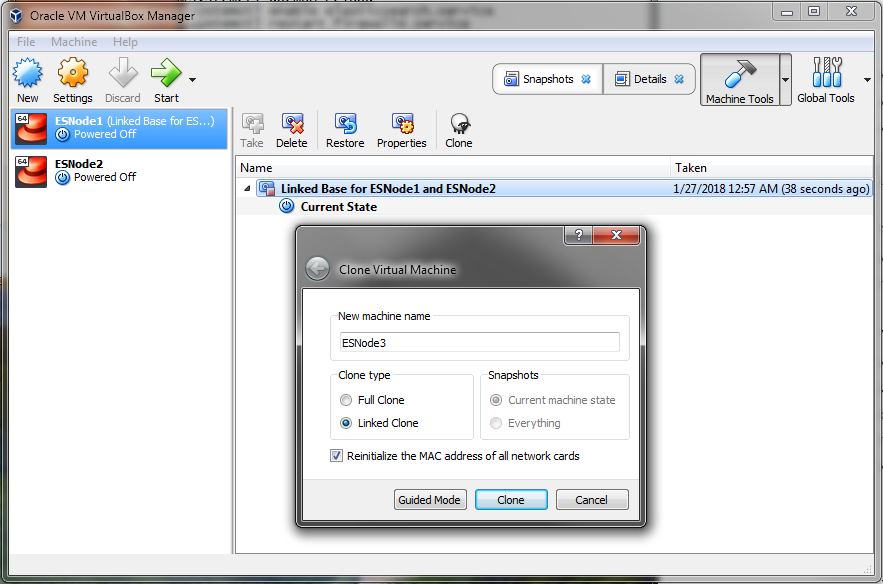
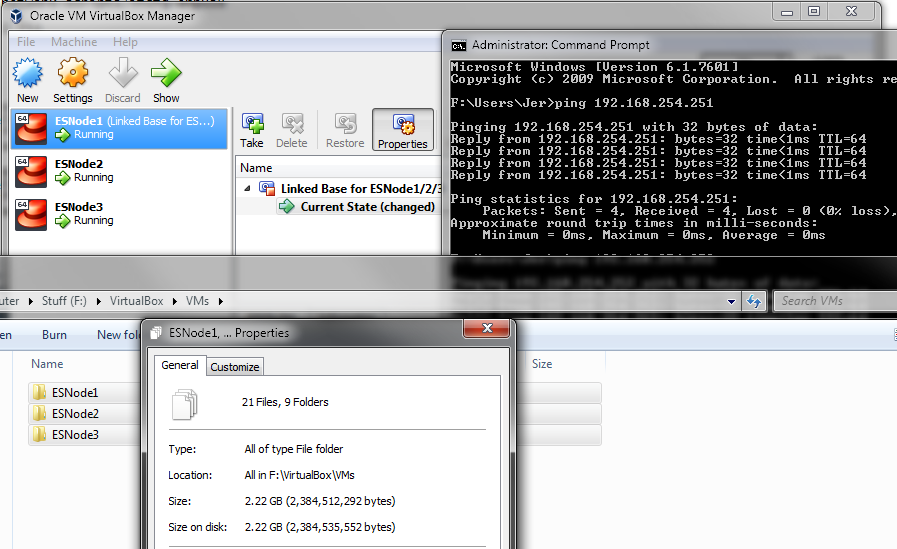
Once that’s complete we’ll use the same base snapshot to create ESNode3 too. You can see that the snapshot is now labeled as a Linked Base for ESNode1 and ESNode2, indicating that they’re operating from a common master disk.
Now that we have our clones we have to start them up and reconfigure the networking pieces to reflect that we want different IP Addresses for ESNode2 and ESNode3. Starting up one VM at a time, we can walk through the configuration. Let’s start with ESNode2:
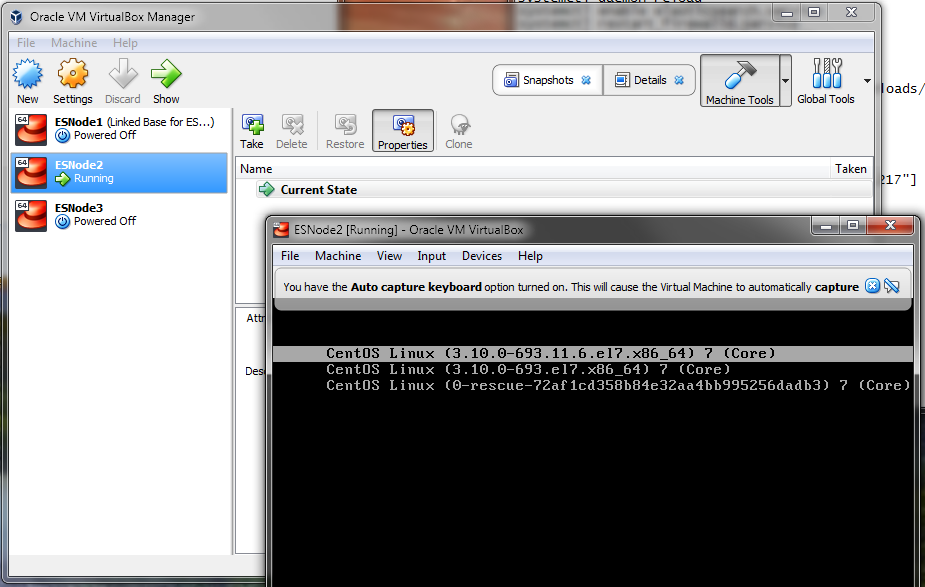
Since we’ve already gone through most of the configuration in the previous section, I won’t spend too much time on explaining each step.
ESNode2
Once we’re logged in, let’s start by changing the hostname of our new machine:
hostnamectl set-hostname ESNode2.cluster
Then we can edit the network scripts to change the IP Addresses. Here’s the one for the public interface:
vi /etc/sysconfig/network-scripts/ifcfg-enp0s17
 ONBOOT=yes
 IPADDR=192.168.254.252
We change the IP of the private interface as well:
vi /etc/sysconfig/network-scripts/ifcfg-enp0s8
 ONBOOT=yes
 IPADDR=192.168.253.252
If you don’t like your hostname to appear lowercase (which, is a standard somewhere but I like mixed-case) you can edit /etc/hostname manually:
vi /etc/hostname
 ESNode2.cluster
Let’s edit the elasticsearch config file so that it knows it’s a different host than ESNode1:
vi /etc/elasticsearch/elasticsearch.yml
 node.name: ESNode2
 network.bind_host: ["192.168.253.252","192.168.254.252","127.0.0.1"]
 network.publish_host: 192.168.253.252
Finally, we’ll enable the ElasticSearch service and then shutdown:
systemctl daemon-reload
systemctl enable elasticsearch.service
shutdown -h now
ESNode3
Now we do the same steps for ESNode3:
hostnamectl set-hostname ESNode3.cluster
vi /etc/sysconfig/network-scripts/ifcfg-enp0s17
 ONBOOT=yes
 IPADDR=192.168.254.253
vi /etc/sysconfig/network-scripts/ifcfg-enp0s8
 ONBOOT=yes
 IPADDR=192.168.253.253
vi /etc/hostname
 ESNode3.cluster
vi /etc/elasticsearch/elasticsearch.yml
 node.name: ESNode3
 network.bind_host: ["192.168.253.253","192.168.254.253","127.0.0.1"]
 network.publish_host: 192.168.253.253
Enable the ElasticSearch service and then shutdown:
systemctl daemon-reload
systemctl enable elasticsearch.service
shutdown -h now
ESNode1
Last time we left ESNode1, the ElasticSearch service wasn’t configured to start up automatically. Let’s start ESNode1 back up and log in as root. Then we can enable ElasticSearch autostart, and start the service.
systemctl enable elasticsearch.service
systemctl start elasticsearch.service
Finishing Up
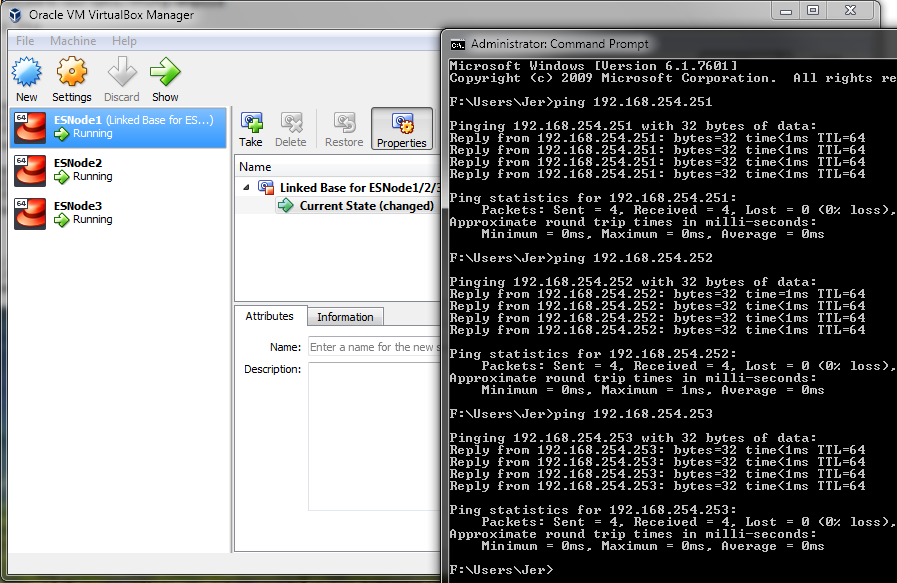
Start up the other two VMs and after a few minutes of boot time, we should see them come online. Here you can see that I am able to ping all three nodes.
Here’s where the Linked Clone feature of VirtualBox really saves us a lot of disk space. If I right click on my VMs Directory and Click Properties, the total space for all VMs is under 2.5GB. By cloning the VM after we had installed the OS, updates, and Elastic files, we save a lot of space that would be otherwise duplicated.
After a few minutes, the ElasticSearch service should start and allow us to connect. You can navigate to http://192.168.254.251:9200 to get a basic ElasticSearch welcome page, but I like the stats printout better because I can see the individual nodes. To access this, you can navigate to http://192.168.254.251:9200/_nodes/stats or http://192.168.254.251:9200/_nodes/ to see some interesting statistics about the cluster.
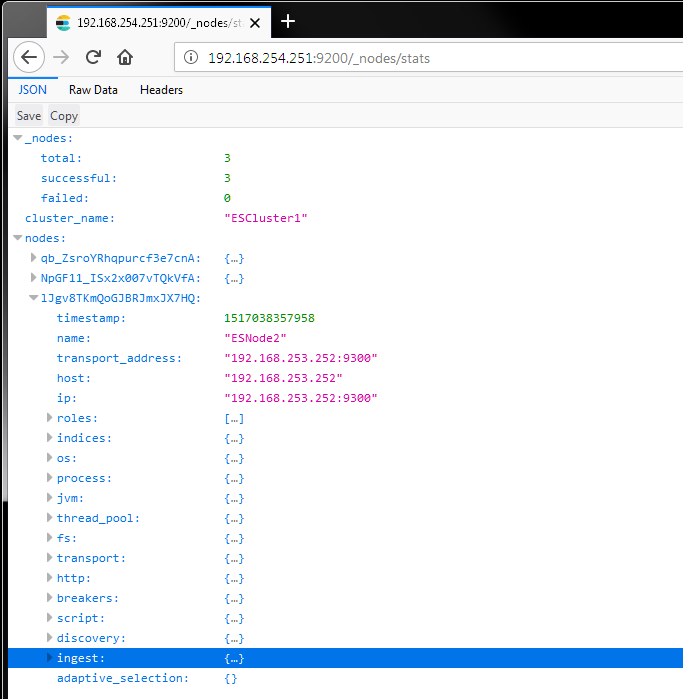
Congratulations, if you have the nodes responding then you can use ElasticSearch at those addresses! As a side note, if you’re going to use this as a development cluster I’d recommnd not having too many index replicas since they’ll all be on the same host hard disk anyway – save yourself the space.
I hope you found this tutorial helpful – if you can think of a way that I could improve it, or if you find an issue please leave me an issue on GitHub so that I can get it fixed ASAP.
Here’s a link back to the main Tutorials Page